Bathroom Renovation Mood Board

When I moved into my home a little under two years ago, it didn't bother me that I only had one shower. Purchasing a 1.5-bath house when you live by yourself is more than enough.
That thought process quickly changed when I experienced a plumbing leak in my upstairs bathroom, that caused water to go through the floor/main floor ceiling, and land in my front entryway. I couldn't shower for a few days until it was fixed and I quickly learned the importance of having a second shower.
So with that, I knew I wanted to renovate my basement 1/2 bath into a 3/4 bath. For anyone wondering what the difference is between a half bath and a 3/4 bath - a half bath is just a toilet + sink. While a 3/4 bath offers a shower + sink + toilet.
GO BIG OR GO HOME… RIGHT?
Now once I got the need to do a bathroom renovation in my head, I decided...might as well just tear up my entire basement and change the floor plan because why not? Go big or go home right? The basement is not large which limited my options for moving things around too much, while also helping to eliminate needing to hire a designer or architect for creative floor plan options. Let’s just say it felt pretty manageable because it was small and mighty.
vanity selection
Keeping my total home resale value in mind, I set a budget of $55,000 or less (emphasis on the less). A beautiful carrara wall mount sink was not in the cards for my budget sadly, so I went for an antique (factory made) vanity as my first priority. It was important to me that I stayed true to the age of the home and created an updated yet vintage, classic look for the bathroom, and the vanity would help me pull that look together.
Shop VANITIES

Shop mirrors
tile selections
For my tile selections, I knew my basement bathrooms would struggle with natural lighting, so I wanted to stick with warm neutrals to help reflect light and make the space feel welcoming. To do this, I selected an off-white ceramic tile for the shower, that gave an organic texture and would allow me to apply a vertical stack application. The glass shower surround will allow for visibility to the shower tile while also allowing the bathroom to feel a bit bigger by not causing the space to feel cramped or compartmentalized. For the floor tile, I selected a marble mosaic tile that leans a bit more timeless and classic. Adding heated floors was in the budget, but was top of mind for those cold Minnesota winters! Maybe next time.
Shop tile
HARDWARE SELECTIONS
Now came the fun part - mixed metals. I knew what type of style I wanted to go for when selecting my mirror, vanity light, bathroom sink faucet, and shower hardware, but I wasn't sure how I felt about mixed metal. Thanks to my vanity selection, I decided to bite the bullet and just do it, so you will see that I included a mix of brushed nickel and brass finishes throughout! I think it pulls together well, but if for any reason I don't like a selection or two, I can always switch something out last minute. TBD!
Shop HARDWARE
PAINT SELECTIONS
Last but not least was the paint! I really wanted to be cognizant again of lighting and try to increase light reflection in the basement. However, I also wanted to create a bit of a moment in the bathroom. My love of green tones runs strong, so I went for a light green-grey called Pigeon by Farrow & Ball. This was a recommendation by the one and only Manor Designs and I am in love!! The perfect blend of color while staying neutral!
the final stretch
With only two weeks left of my bathroom renovations, I need to finalize my selections for a toilet paper roll, bathroom hooks, open shelves, and a hand towel rod. I tend to procrastinate on the small stuff because I know that I can ultimately install these myself if it comes down to it, so we will see if I end up getting these ordered before or after the contractors are done. What do you think - do you have faith I'll get this done in time haha?
That about sums everything up for now. I'll be sure to share the final results with you soon! It'll be exciting to see the finished product and then start selecting furniture to complete the space.
PROGRESS PHOTOS

Before

Before + After

Renovation in Progress
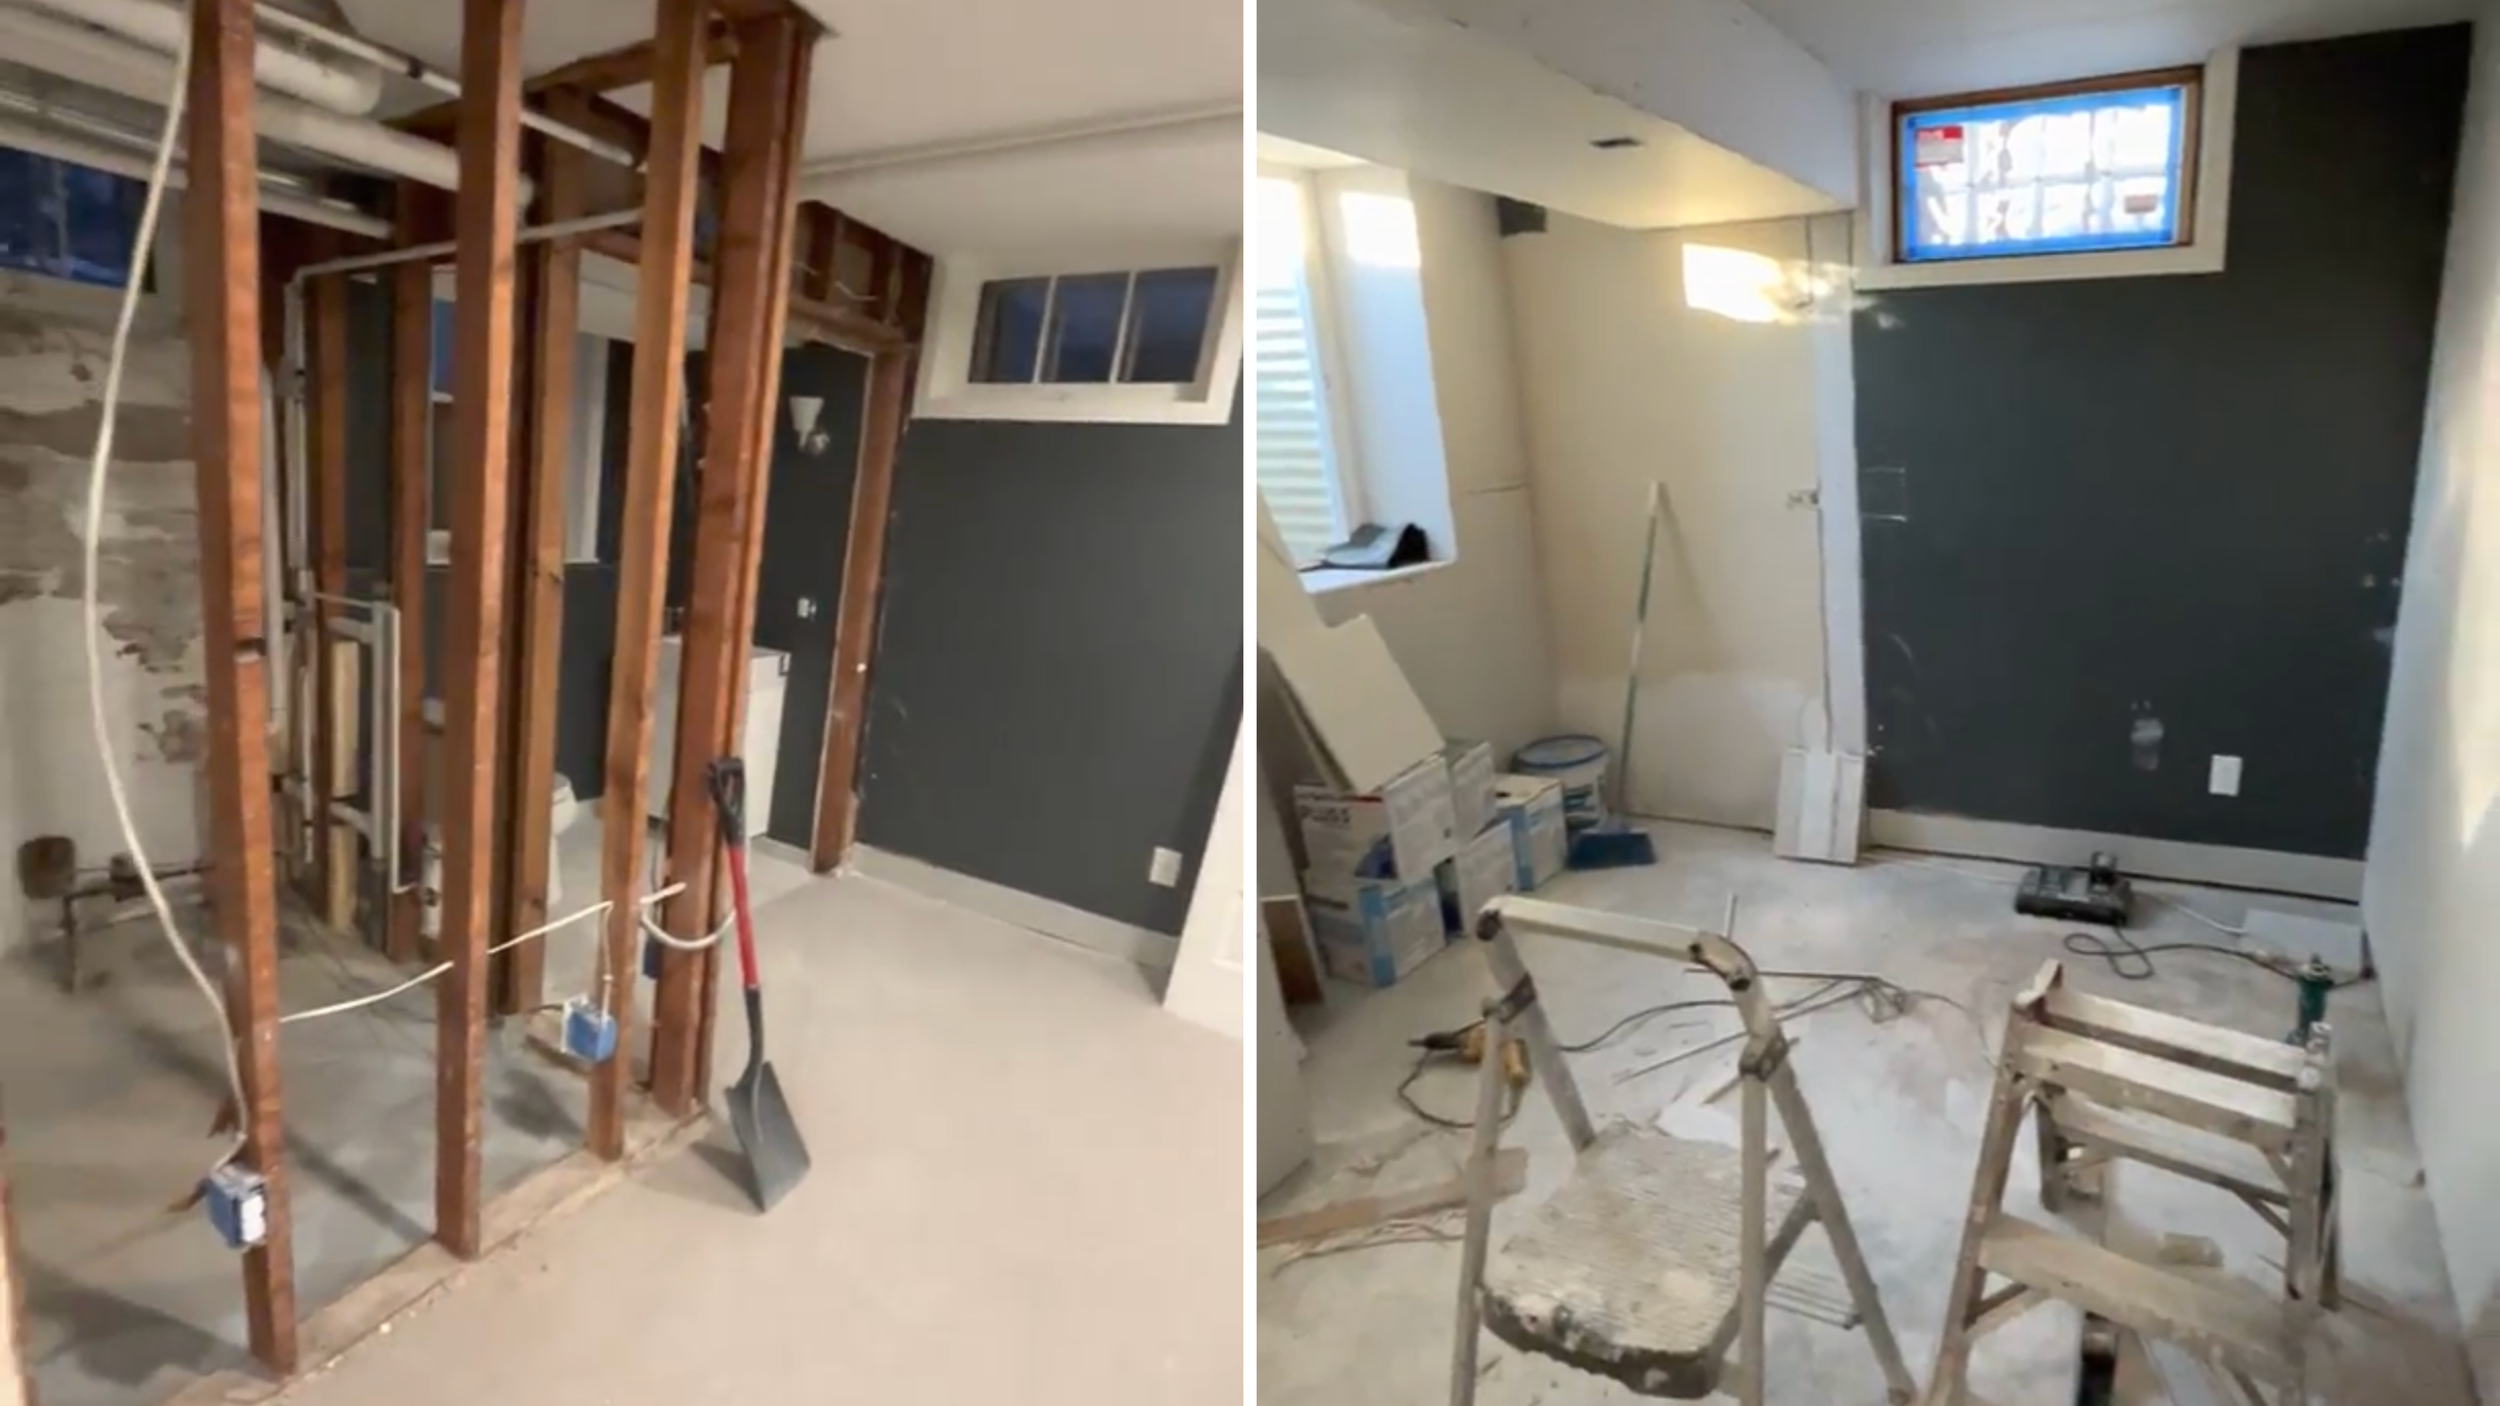
Renovation in Progress

Renovation in Progress
Stay tuned!
Jen