How To Avoid Common And Costly Home Renovation Mistakes

GETTING STARTED IN HOME RENOVATIONS
The saying…”you are the company you keep,” couldn’t be more true! I personally feels it speaks volumes as to why I am, where I am in life today.
By surrounding myself with entrepreneurs, real estate agents, and home DIY geniuses during my 20’s, I knew that I needed to break out of my 9-5 career and try something new. It felt like there was an entirely different world out there to experience and I had to get a taste, so I did!
Now, I’m all about taking baby steps. So the first step I took was to get my real estate license back in 2016. I didn’t plan on leaving my corporate job right away, and instead had my eye on purchasing my first property—a duplex! I knew that I could owner occupy a duplex, which would allow me to live for less than I was paying in rent. My goal was to help me reduce my expenses and begin to build the financial freedom I desired to pursue my new dreams of entrepreneurship!
Side note: Did you know you only need 3.5% down payment to purchase a duplex as an owner occupant? I share all of my numbers on my House Hacking blog post if you’re interested in seeing the breakdown.
After snagging my duplex, I began to slowly work on what I like to call “facelift” projects. My strategy was to increase the visual appearance of the units, which would help increase rent while keeping material and labor costs low. By sprucing up one of the kitchens, refreshing paint, updating light fixtures, and staging the home appropriately, I’ve been able to increase rent from $1,400 per month to $2,200 per month. Check out some of my project budget breakdowns here.
MY CURRENT PROJECT
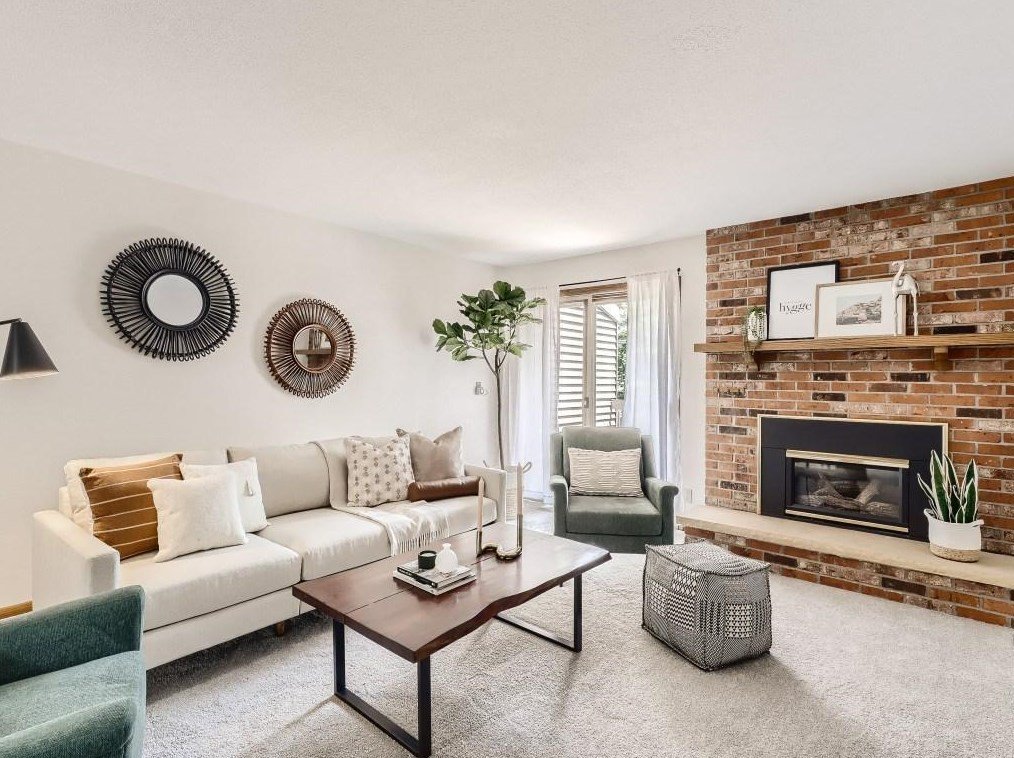
Once those “smaller” projects were complete and I had been a licensed realtor for a few years (fast forward to the winter of 2020), I knew it was time to move on to the next project. Insert my Tangletown 2-story! I was able to snag this beauty off market and I knew there was quite a bit of resale upside based on the projects I had in mind, so I considered myself lucky.
To make a long story short for anyone who hasn’t been following along since the beginning, here is a quick list of the renovation updates I’ve tackled in the last 6 months:
Demoed all walls + ceilings to run new electrical
Demoed the entire kitchen and built a new custom kitchen from the ground up
Added new drywall
Painted all trim, windows, doors, walls and ceilings
Refinished hardwood floors
Updated all light fixtures throughout the home
Updated appliances
And a did a bunch of expensive boring stuff you won’t really care to hear about ;)
All in, I’ve invested about $91,000 into this home. Now this may seem like a lot, but when you itemize everything out in more detail, I’m pretty happy with what I’ve been able to accomplish based on material and labor price increases this year. Maybe I’ll show you more details in a future post if you’d like to see ;)
WHAT TO AVOID WHEN REMODELING A HOME
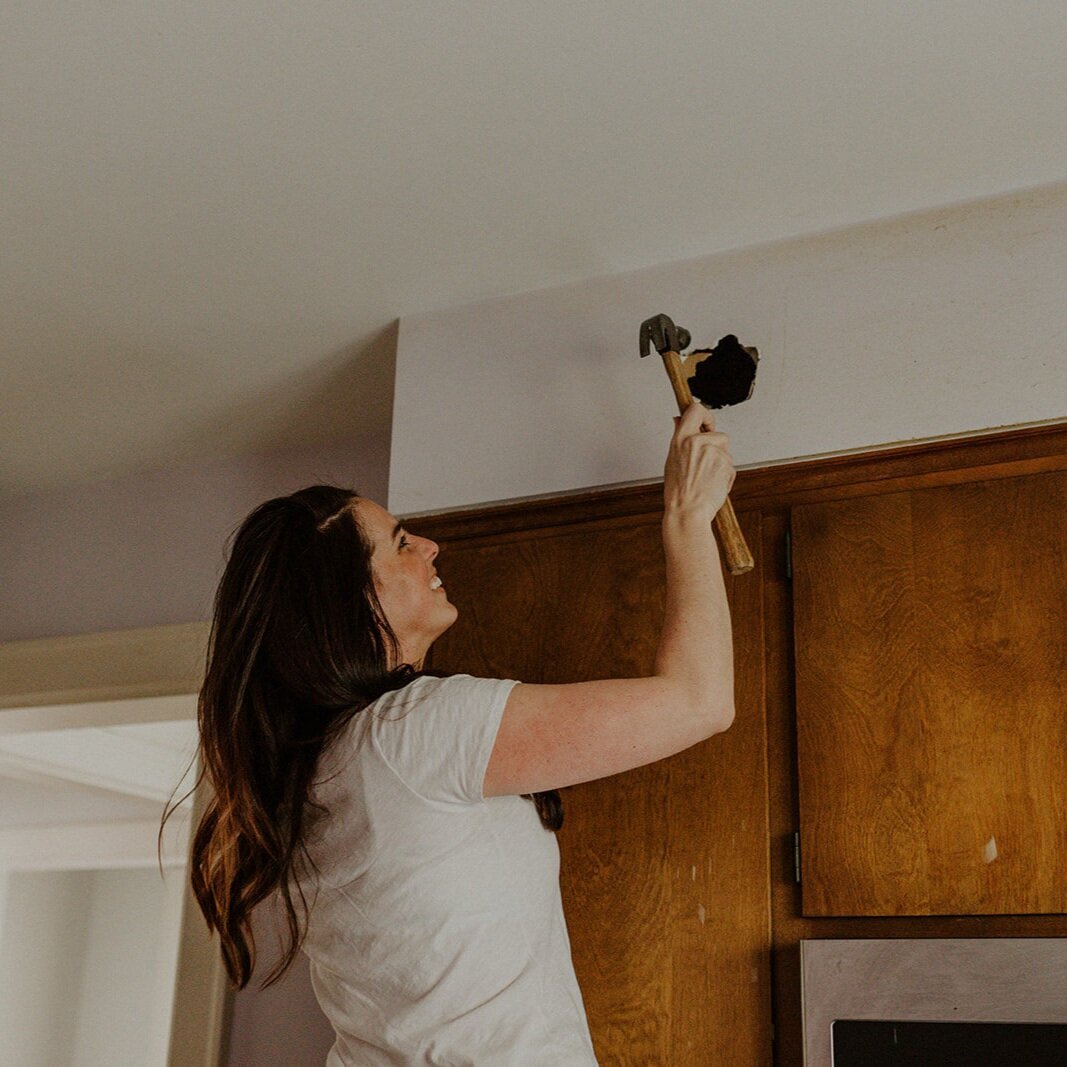
Instead of gloating on the completion of these projects though, I want to continue to help share my learnings. With every new experience comes the opportunity to fail and adapt, and I had to do just that, more than once! So, without further ado, here are some of my biggest takeaways coming out of my first large renovation that I personally designed and managed.
Product Selection - When renovating a large space like a kitchen, it is super important to select your products such as appliances and light fixtures in advance. Understanding their dimensions will help you to determine any adjustments that need to be made to a layout or finishes.
Measurements - Outside of product measurements, you are going to want to have EXACT dimensions for EVERYTHING! Custom cabinets, height of a faucet, width of a light fixture, vent hood insert….you name it!
Know your backsplash + sink measurements to ensure there is enough space between the wall/backsplash and your selected faucet
Research hood vent sizes needed for your specific oven size and adjust based on backsplash and cabinet measurements
Measure pots, pans, bowls, and plates to see how things will fit in your cabinets strategically based on the suggested cabinet dimensions
Review Products Upon Delivery - Many times during a renovation, you will face various lead times, impacting the installation. No matter if an item is delivered first or last, be sure to look over every item to ensure the quality, craftsmanship, and function are all as expected.
Double Check Functionality - After hardware, lazy susans, pull out drawers, refrigerators, etc. are installed, be sure to check for functionality. You don’t want doors to dinging up other doors or countertops, and you of course want to make sure everything functions properly. TEST EVERYTHING!
Product Shortages - Because there are so many material shortages, the sooner you can order products, even before a project gets under way, the better. Contractors will get fussy if their work is completed, but they can’t be paid because they’re waiting on one last material, such as a light fixture.
Ventilation - Did you know certain appliances need a gap for ventilation? Be sure to account for this when building out cabinets for appliances like a fridge and microwave. I thankfully learned this before nailing down my custom cabinet measurements.
Electrical - EVERYTHING to do with electrical wiring and hookups were BIG learnings for me! Who knew there was so much you needed to know AND check up on when it comes to a contractors workmanship.
Here are my biggest electrical takeaways:
Understand which appliances and mechanicals should be on their own circuits. Things like your boiler, washer and dryer shouldn’t be sharing a circuit breaker. Same thing goes for a fridge and a microwave. They should each be on a separate circuit. Be sure to check it if you’re getting things rewired.
Look to see where you have “indents” on the back side of your appliances, that would allow for a plug-in and/or gas-line to fit. If you don’t have your appliances before work begins, ask the subcontractors to build any appliance outlets into the wall vs. having them flush with the wall. Large appliance plug-ins can be quite thick and will cause your appliances to stick out of a wall a few inches, if not inverted.
If you plan to do a thicker backsplash (i.e. marble) be sure outlet holes are cut to size. If they are cut too small, the screws for your outlet covers will not work.
Ensure electricity is working on all functional parts of the home besides outlets and light switches. Things such as your thermostat, AC, and doorbell can get easily overlooked when moving quickly, and once a contractor has been paid in full, it is difficult to get them to come back out.
Communication - Over communicate! Have all details outlined on both a hard copy and soft copy so nothing can be missed by your contractors. And I mean get granular. Below are great examples of what this might look like:
Example: If you ask for closets to be painted, outline each closets location, color, difference in wall vs. ceiling vs trim paint colors, and the number of total closets that should be painted. You don’t want anything to be overlooked.
Example: Ensure electricians know exact placement of lights, number of inches above a window, distance between sconces, length hanging down above a countertop or table, etc.
Example: With a natural stone such as marble, color variances occur throughout the stone. Be sure to review where each cut will be made in the marble and where they will be installed prior to the cuts being made. You want to ensure the veining and color flow nicely.
LET MY LEARNINGS BE YOUR WINS
There is so much going on when it comes to a remodel so having a plan and being open to learning as you go will be key to your success. Being the general contractor on this project was intense! I also loved being so close to the details so I wouldn’t change a thing. It also most certainly comes down to purchasing the right home to make this all possible. I was set up for success and had so much to learn. With that said, bring on the next project :)
Sincerely,
Jen
THE LATEST & GREATEST


Tools + Playbooks


